01 From tin to bucket without drama
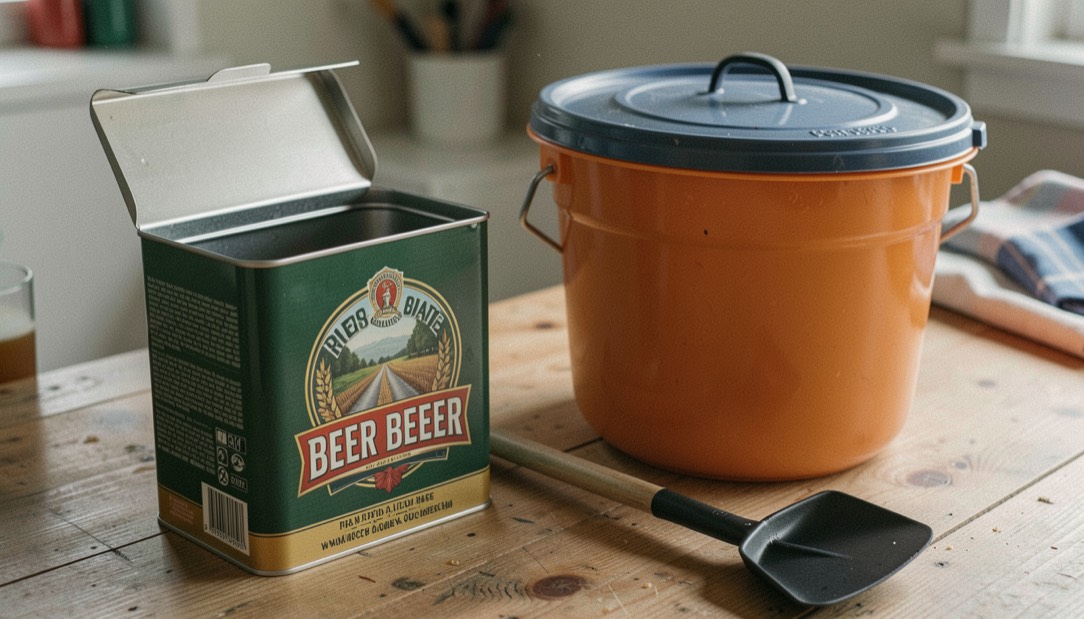
A beer kit arrives as a promise half kept. The malt extract inside is already made, hopped and checked by people who never met you, which removes an entire chapter of possible mistakes from your evening. What remains is honest manual work: dissolving thoroughly, keeping everything clean and refusing to hurry. Open the tin over a sink, because syrup that dense finds fingertips irresistible, and dried trails become cleaning problems rather than flavour later. Before that hour begins it is worth dressing for it: our notes on the brew-day working wardrobe keep splashes and steam off the clothes you actually care about.
Stand the sealed tin in warm water for a few minutes and the contents loosen from geology into pourable liquid. Dissolve it fully in the volume of water your instructions name before any top up. Stir until the last rope of syrup lets go of the base; extract left sulking at the bottom sweetens nothing and quietly skews the batch against you. Everything the evening needs should be standing on the counter before the tin opens; households that keep a pantry list that fits their actual cupboards rarely discover a missing sachet halfway through.
- Wash everything, then run your sanitising routine exactly as practised.
- Warm the sealed tin briefly so extract pours instead of obstructing.
- Dissolve the full contents in the stated quantity of water.
- Top up to the marked level with cool clean water.
- Add the enclosed yeast at the warmth printed on the packet.
- Fit lid and airlock, write the date visibly, then carry it to its resting place.
02 Choosing where the bucket rests
Fermentation asks for three kindnesses: darkness, steadiness and quiet. A cupboard above a radiator fails steadiness, a garage in March fails warmth, and a busy hallway invites collisions with hoover leads. Most enclosed ale yeasts feel content somewhere in the low twenties Celsius, though your packet has the final word. Consistency beats optimisation, because swings stress yeast into stranger behaviour than any modest constant would.
Bubbling through the airlock usually starts within two days and fades to an occasional thoughtful pop after the first week. Lifting the lid for reassurance trades hygiene for comfort at a terrible exchange rate, so resist. When bubbling stops and the beer begins clearing, hydrometer readings replace guesswork entirely: two matching readings days apart prove finished more honestly than impatience ever could.
03 Bottling day and what follows it
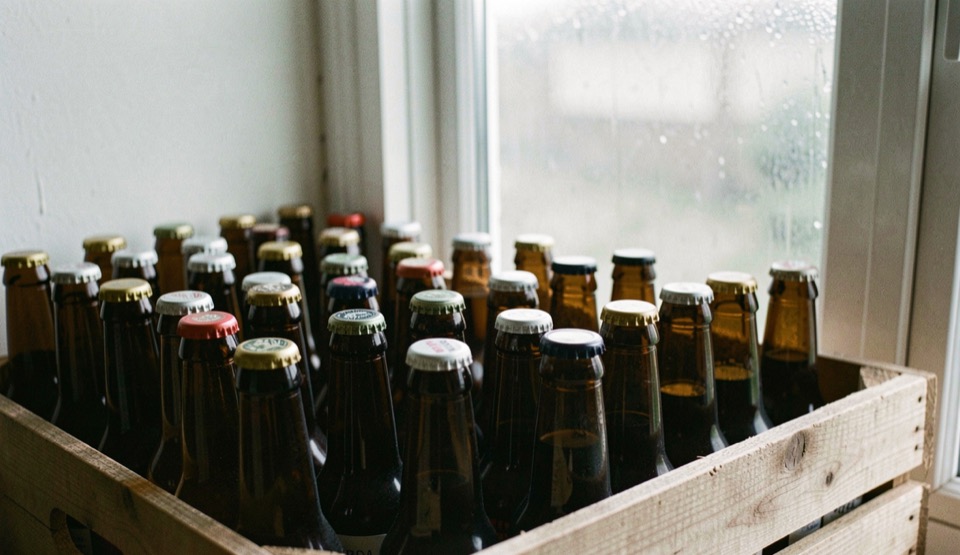
Bottling adds one measured dose of sugar so surviving yeast can carbonate each sealed bottle naturally. Use the priming rate printed for your kit rather than remembered lore, dissolve it completely beforehand, and leave sensible headroom under every neck. Bottles deserve the same washing discipline as the bucket; sediment welded inside a corner ruins more home batches than ambitious recipes ever have.
After capping comes the part that separates brewers from bartenders: storage. A stretch at ordinary room warmth lets carbonation build, followed by cooler darkness that settles the beer bright. Give everyday strengths about a fortnight of temperate patience before judging one bottle, and let our bottle conditioning guide explain the full timetable when curiosity arrives properly.
Occasion brewing rewards the same patience with a calendar attached: a batch aimed at a fixed date, like brewing for Burns Night, simply works the conditioning weeks backward from the evening it must serve.
04 Desk margin notes
Questions arrive weekly about replacing the enclosed yeast sachet straight away. Our standing advice stays boring deliberately: brew once exactly as supplied before spending anything. Every judgement about better yeast means nothing until your own baseline batch exists, bottled, conditioned and tasted honestly beside its successor.
One habit separates confident beginners quickly. Photograph the bucket the moment the lid goes on, then again at bottling. Comparing the pair teaches foam behaviour, colour drift and clarity timing faster than any written chapter here, and the record costs you four seconds per fortnight.
Syrup temperature sparks quiet debate too. Warmth eases pouring yet discourages later yeast additions, so stages matter: warm the tin only, dissolve into cool liquid, and pitch yeast once the bucket reads comfortable on the inside wrist test generations trusted before probes cost money.